I hate making sleeve patterns.
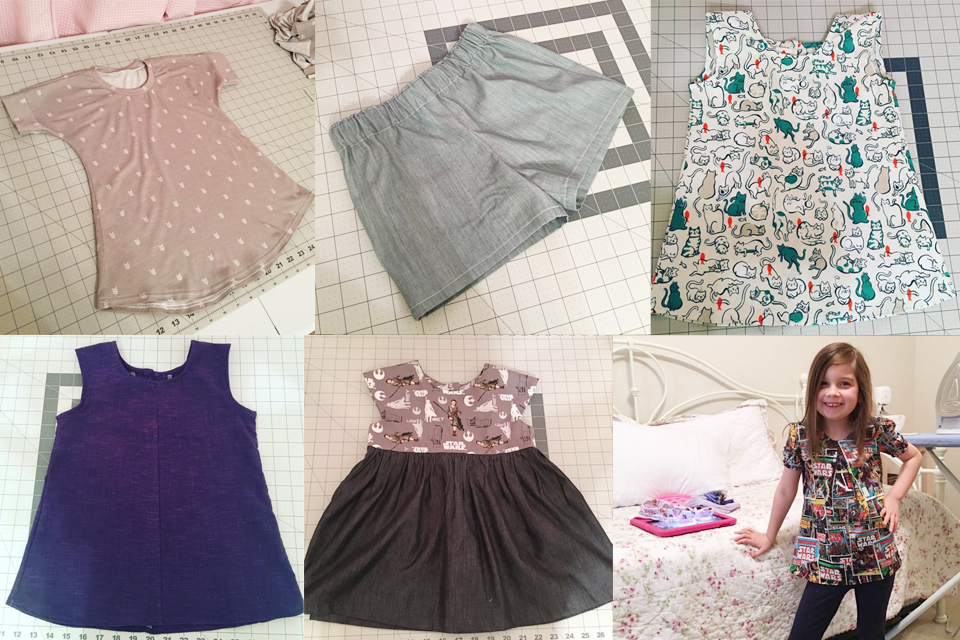
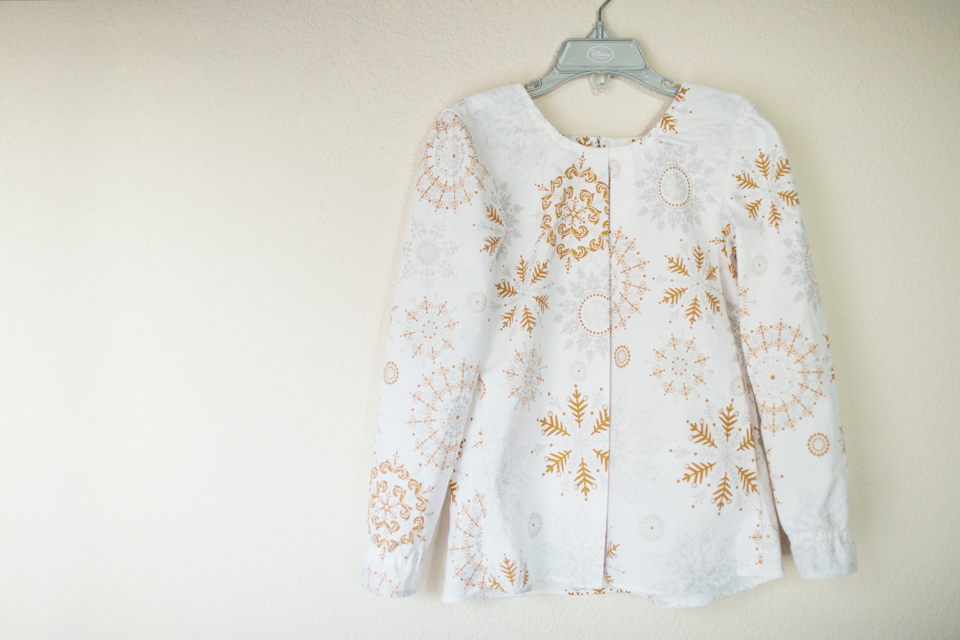
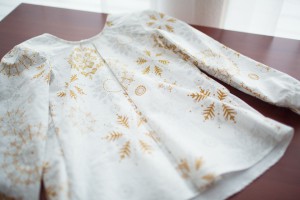
I spent a good portion of my Thanksgiving break fussing over the sleeve pattern for this shirt, which was based on an earlier, warm weather sleeveless pattern I had made earlier in the year. I tried for a flat cap, but ended up going gathered since it’s the style, and to be honest, screw it. I was spending more time fussing over the sleeves than actually making anything that could be worn. The sleeve cap is ever so slightly gathered, which I do by putting two rows of basting stitches into the cap and gathering them up evenly to fit into the top-most portion of the armhole. The cuffs are hemmed with a 4mm rolled hem foot, but I put elastic channels into the sleeves so that they could be a little puffy and gathered looking at the ends.
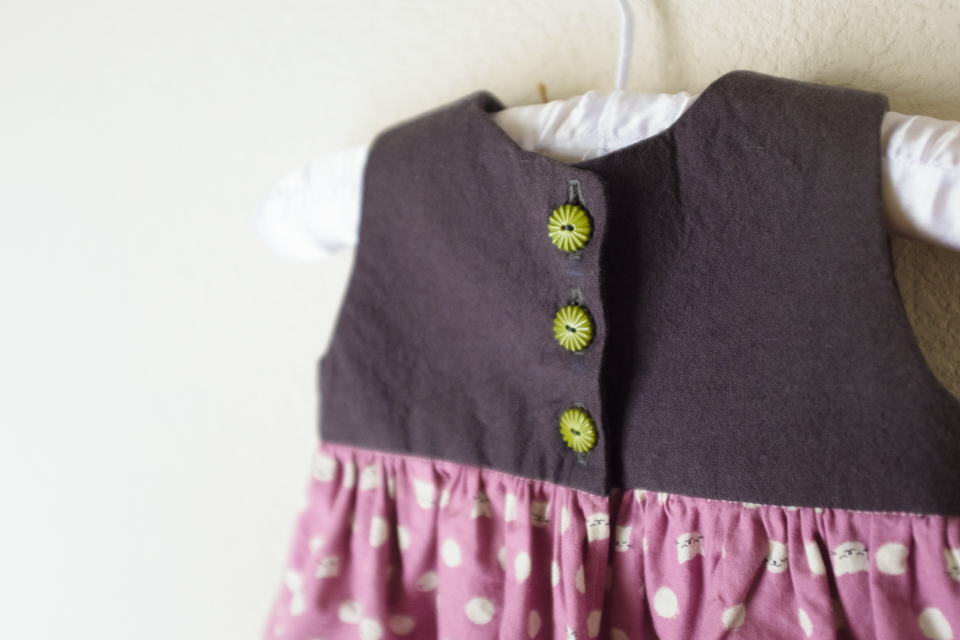
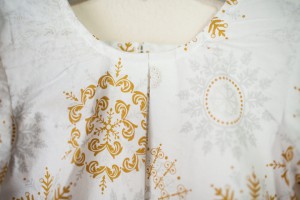
The front has a box pleat of roughly 3″ pulled in total in the neckline. That can easily be eliminated, but I think it brings some dynamic to the design. The back is the same, simple keyhole button closure.
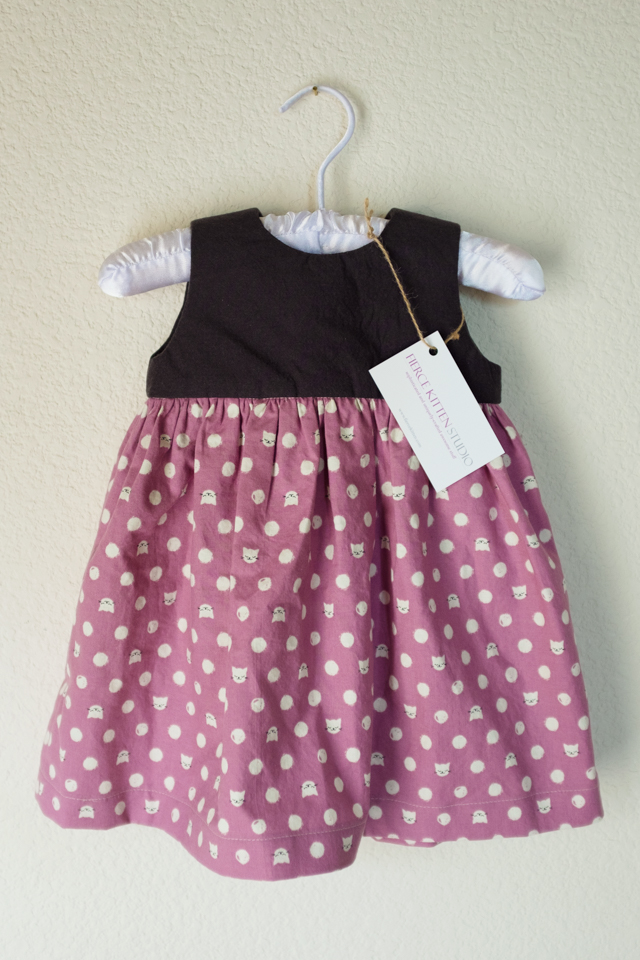
The fabric I got on a whim. It was 50% off at Hancock’s Fabrics, so I picked up the amount I needed (roughly 1.5 yards) for under $5. Not bad, if you ask me! My daughter loves it… loves it so much she won’t wear it yet. Figures. I have another stash of fabric to make this out of, and this was the wearable muslin just to make darn sure I didn’t mess any of the measurements up.
-
-
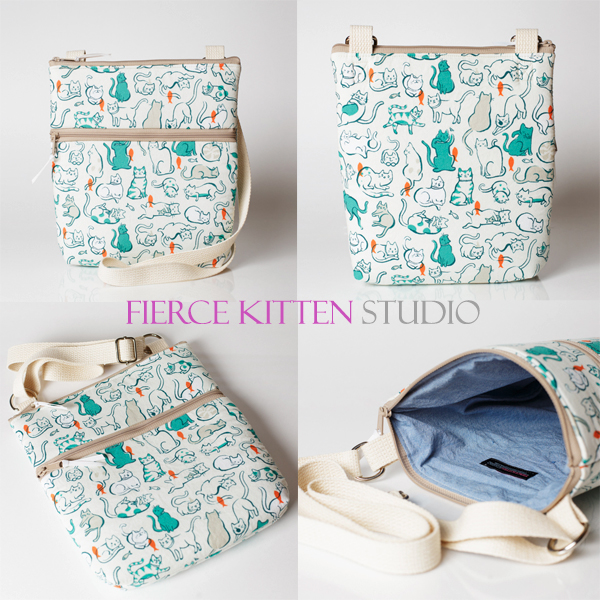
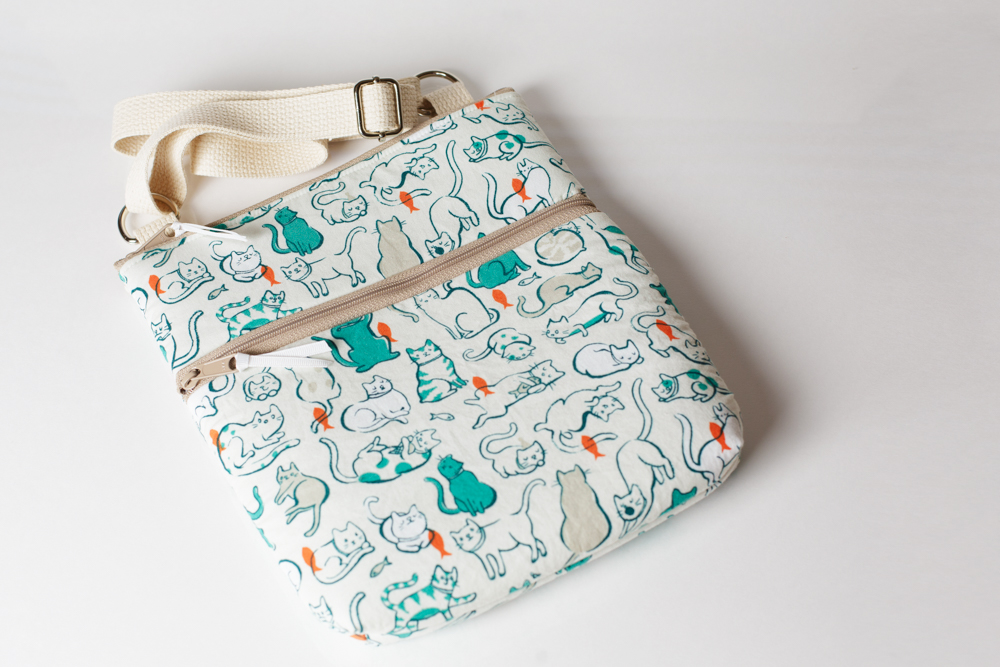
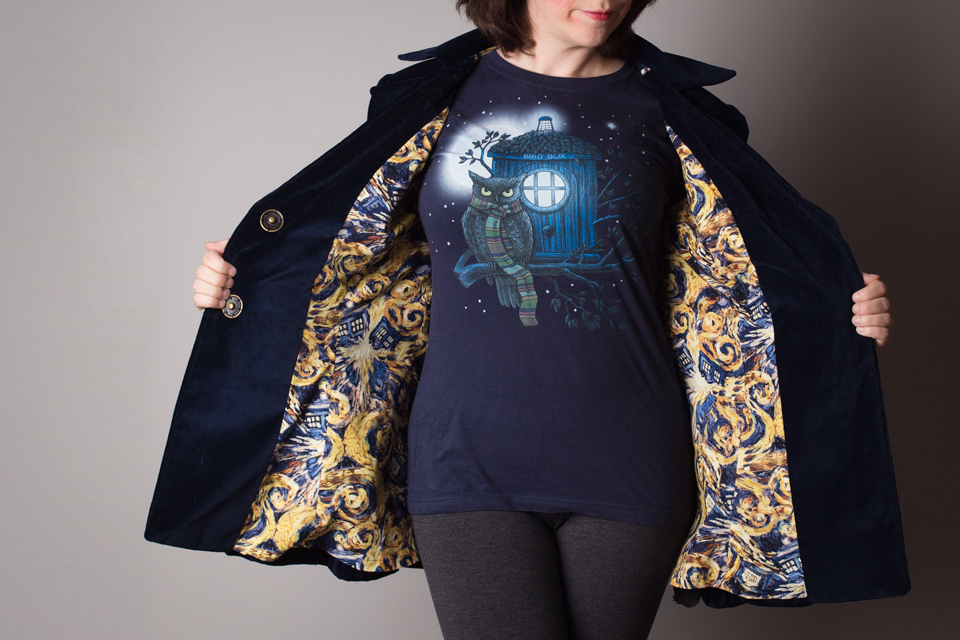
Lovely Fabric!
-
-
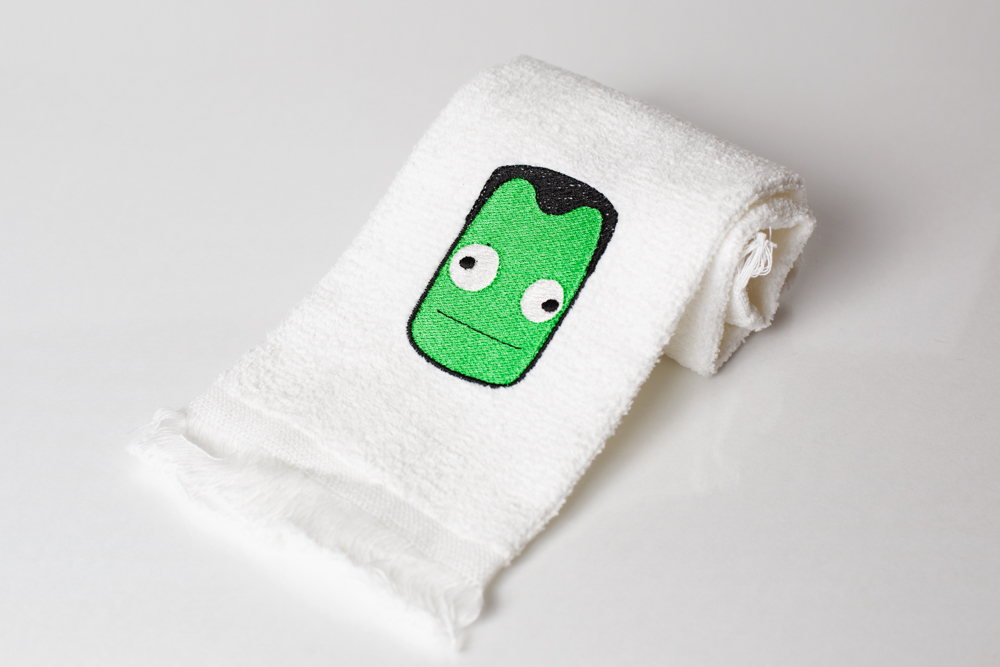
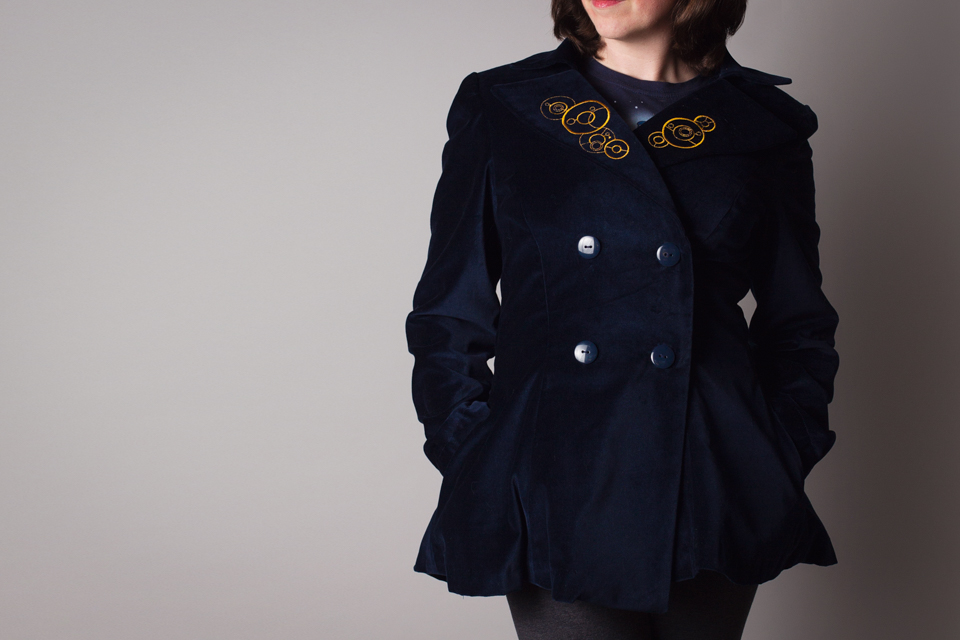
Collar Close-up
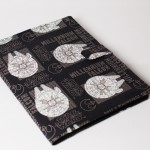
I used Twitch.tv to stream the entire construction of the shirt. The recording you can find here, if you’re interested: http://www.twitch.tv/fiercekittenz/v/30182718 I have found that I’m getting a little more used to interacting with viewers while sewing, but it is best for me to work on things that I’m really good at while getting acquainted with streaming first. I’m going with some easier, better known patterns going forward. I’ll be making a Colette Sorbetto out of some lovely fabric from The Cloth Pocket, which looks very much like Gallifreyan in the next week or two!